When writing nonfiction, you’ll find the need to express tabular data while working with Microsoft Word. Tables are an easy way to present complex data in a structured fashion.
In this post, I explain how to insert and configure tables in Microsoft Word.
Inserting a Table
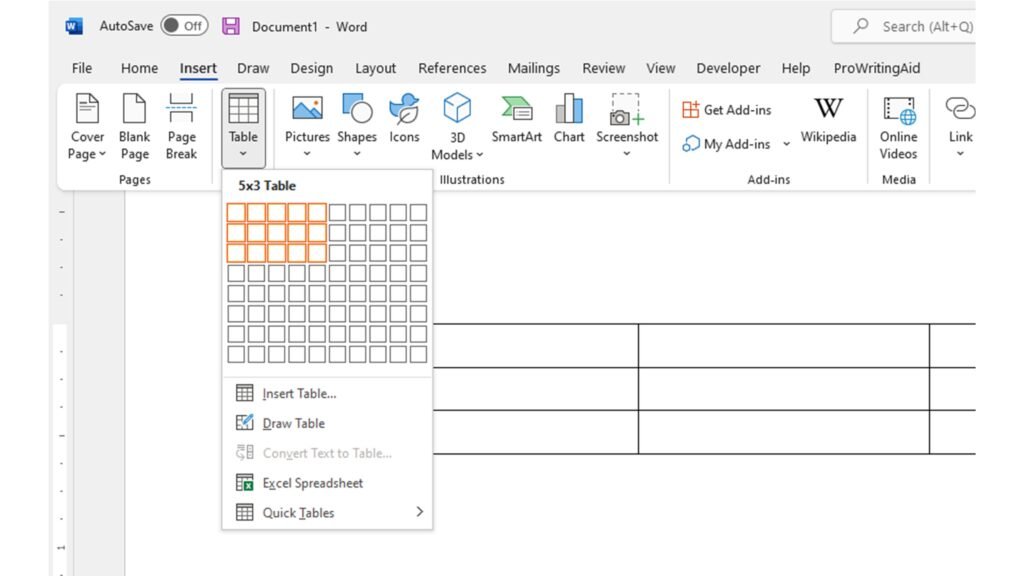
To insert a table, position your input pointer in the document where you want to insert the table. Click the Insert menu tab and select Table from the Tables section of the menu ribbon. Word will present you with a grid of boxes used to specify the number of rows and columns you would like in the table. You can add and remove rows and columns later if you choose wrong when inserting your table. Click on the box at the intersection of the desired number of rows and columns to insert your table.

Entering Cell Values
Simply click in a cell and type to enter a cell value. You can configure cell values like any other text, including left, right and center alignment.
Configuring Color and Row and Column Headers
To add column headers, left-click and drag your mouse across the top row to select it. Click the Table Design menu tab and select Shading from the menu ribbon to set the row background to black. You can do the same thing for row headers. In this example, I centered the column headers.

Adding and Removing Rows and Columns
To add or remove rows or columns, position your input pointer within the table and use the Layout menu Rows & Columns options to add or remove the desired columns.
Changing the Table Size and Alignment
Grab and drag the corner anchor point to resize a table. Grab and drag any of the column separators to change the columns widths.
Merging Row and Columns
To merge cells, select the cells to be merged, click the Layout menu and Select Merge Rows from the Merge section of the menu ribbon.
I’ll see you in the classroom,
—Brian


