I use Microsoft PowerPoint as my go-to general purpose graphic design software. As with every graphic design program, introducing layers muddles the simplicity of PowerPoint. Layers determine the order in which PowerPoint draws graphical elements (what’s on top of what).
In this post, I explain how Microsoft PowerPoint implements layers and how you can manipulate them to produce advanced graphics for book covers.
What Are Layers?
Think of a layer as a clear sheet of acetate on which you draw a graphical element. PowerPoint renders each graphical element, whether a shape, text box or picture, on a separate layer. PowerPoint stacks layers, drawing each graphical element on top of the other. If a graphical element is transparent, any element drawn on a layer below will show through that graphical element. You control what gets drawn on top of what by rearranging the stacking order of a slide’s layers.
There are two ways to manipulate layer stacking order.
Manipulating Layer Order Via the Context Menu
Right-click your mouse with the input point over any element in the drawing pane to display that element’s context menu. The context menu includes the options to Bring to Front or Send to Back. These options either bring the selected element to the front of the stacking order (draw that element on top of every other element) or send it to the back of the stacking order (draw every other element over the selected element).

This is a crude but fast way to change layer stacking order. A more precise method involves using the Selection Pane.
Manipulating Layer Order Via the Selection Pane
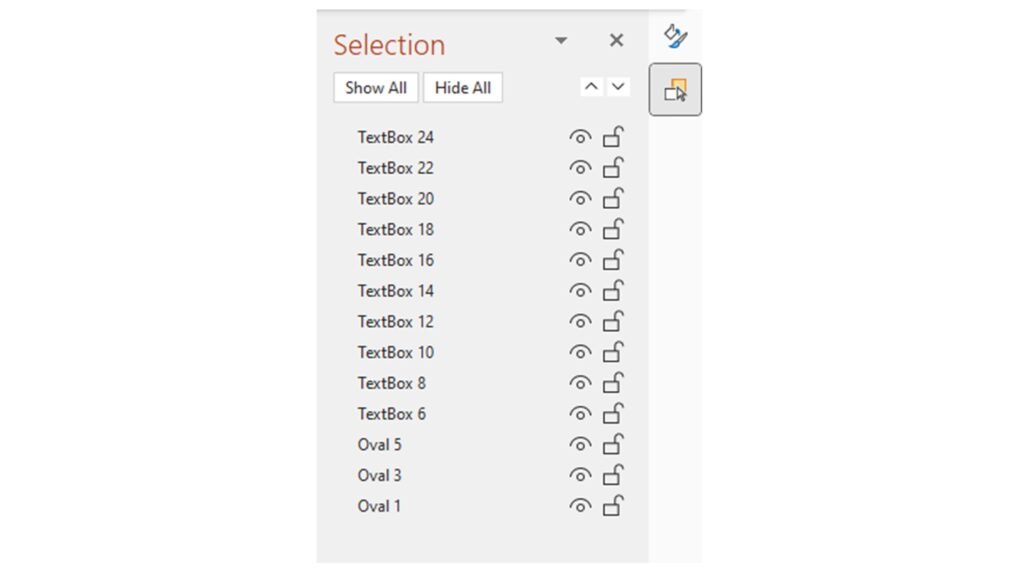
Click the Home menu tab and select Selection Pane from the Select drop-down menu in the Editing section of the menu ribbon to display the Selection Pane to the right of the main editing pane. The Selection Pane displays each graphical element on the slide in layer stacking order. Drag elements up and down to change their layer stacking order.

Grouped Elements and Layer Order
Grouped elements appear as a group in the selection pane so that you can manipulate their stacking order as a group.
To form a group, hold the shift key while selecting multiple elements. Right-click on the edge of any element to display its context menu. Use the Group menu option to either group or ungroup the selected elements.
Layers and Transparency
Through the Format Shape/Picture pane (accessible via a graphical element’s context menu), you can control the transparency of any shape. If you make a shape transparent, shapes below will show through, including the background color.

I’ll see you in the classroom,
—Brian


